|
|
|
|
|
|
|
Here is my inventory. Not too much stuff, but more than enough to get started and enjoy the sights of the skies. The Telescopes:
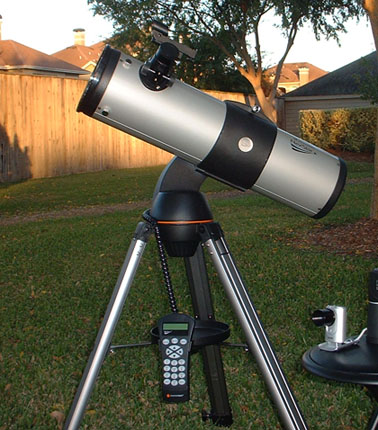
Celestron Nexstar 130GT: A good beginner's scope! Goto works quite well when properly aligned, and tracking is good enough for visual use. It's really not good at all for imaging. Objects continue to drift out of view, and at different rates, making imaging a challenge. Obviously, it can be done and with good results, but you have to be patient! If you want a small portable scope, this is a good one to consider. But I'd also like to add, a non-computer scope is generally much cheaper, and you can get larger scopes for the same price. This scope has now been supplanted by my
rig below. I still have this one, but it doesn't get as much use as
it used to, I'm afraid.
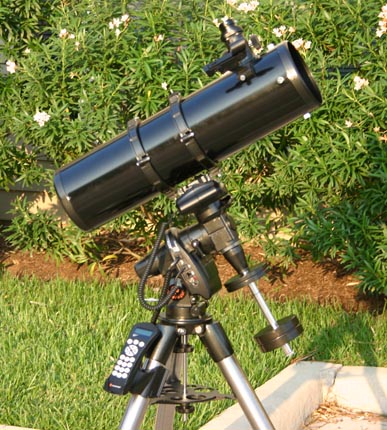
Celestron C6N-GT: This is a very good advanced beginner to intermediate scope. The scope isn't much bigger than the 130GT above, and visually they're about equal. I mainly just wanted the mount, but after you include the price of the mount plus the hardware to retrofit the 130GT to it was the same as just getting the packaged deal with a 6" scope. The secret to this setup is the mount. Being a German Equitorial Mount, it perfectly tracks the apparent motion of the sky. Since it only has to turn on one axis to follow your object, there is none of the "ladder" affect the 130GT has, and also no "field rotation". In other words, this setup allows me to attempt long-exposure astrophotography! (Keyword is "attempt"). Scope specifications:
My scope related accessories include:
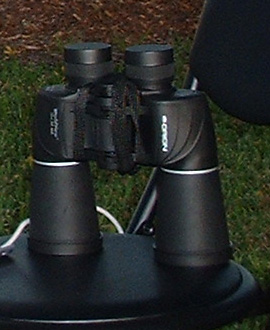
The binoculars:
Orion Worldview 10x50 binoculars. I cannot stress enough how useful and essential binoculars are! If you're looking to get a scope for the first time, these are considered a must-have. You'll be amazed at just how much you can see, how well they help you learn the sky, and how much easier they make finding objects with the telescope. They don't have to be fancy, mine were on sale at Orion for $25. The recommended binoculars for astronomy use are generally 7x50 or 10x50. But again, any set will work well! Imaging Tools: Canon Digital Rebel (not pictured): This is my newest addition to my equipment. It's a Single Lens Reflex style camera. That just translates to it has a manually controlled shutter, just like a high end film camera. With it, I can take the long exposure photographs needed to catch details in the faint nebulas and galaxies that litter our universe! I'm still learning how to do it, but hope to have some pictures to show off soon!
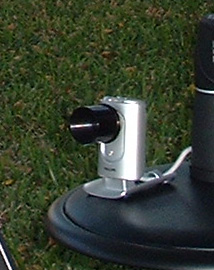
Phillips ToUcam Pro II: This is just a standard off-the-shelf webcam. Though not really built for astronomical use, folks soon discovered these little guys use a CCD chip and capture very good images. Once you replace the standard lens with an eyepiece adapter (it just screws on), you put it in your telescope, and "voila!", you're taking images of the planets! Since it doesn't do long exposures, its use is limited to planets or Moon (although folks have modified these things for long exposures). However, the quality of Moon and planet images from these things is awesome! A lot of serious astrophotographers will use this setup when imaging planets. For an example of just how good these things can be, check out these images of Saturn by Chris Go The way the process works is this:
So why don't my images look like Chris's? Well, besides his scope having an 8" mirror to my 5", he waits until his seeing conditions are perfect, and has lots of practice on just what software settings to use when capturing, as well as knows how to process the final image to tweak every last bit of detail out. Where I've bought my Equipment: Amazon.com
- Decent prices, usually just a front-end to the next link |
|